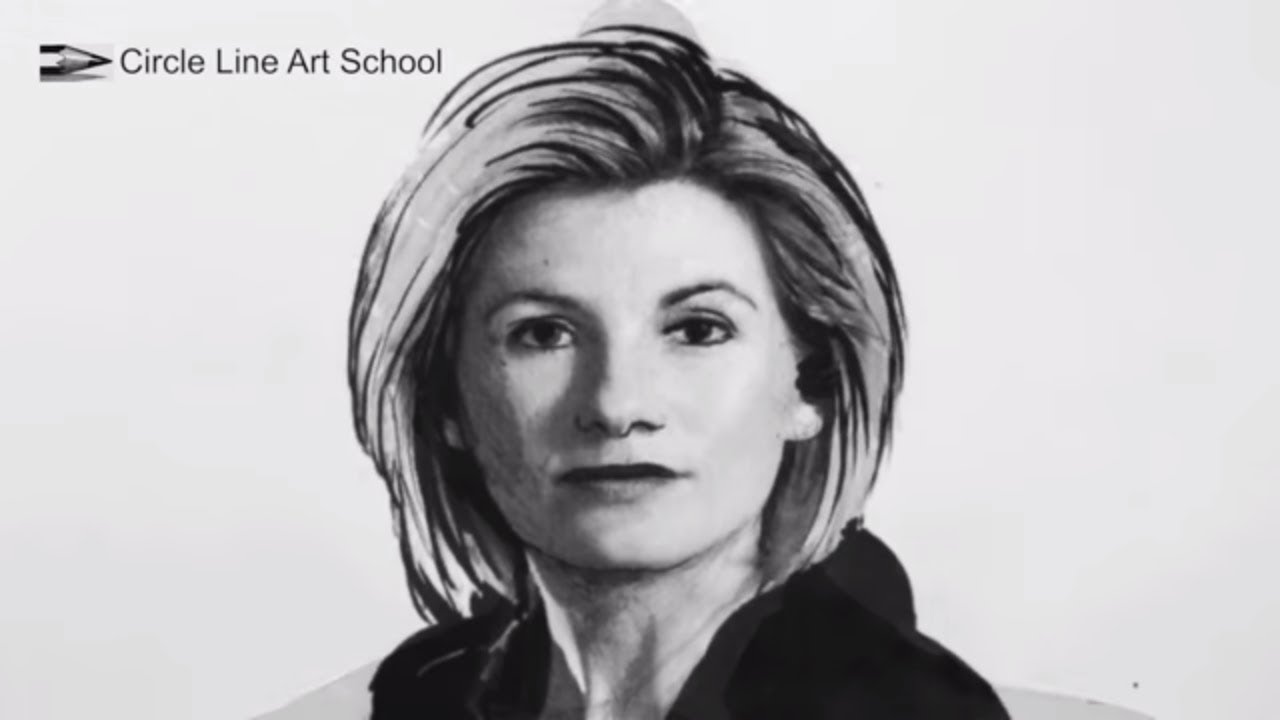
How to Draw Dr Who: Draw a Face Step by Step
See a simple way to draw a face, step by step. Please SUBSCRIBE https://www.youtube.com/circlelineartschool to see more drawings.
Circle Line Art School: How to Draw Episode #265
How to Draw a face: Doctor Who Regeneration
Doctor Who is a sci-fi tv programme produced by the BBC since 1963. The Doctor is a time traveller who can regenerate, in each regeneration the face changes. To mark the new Doctor Who regeneration in Twice Upon a Time I thought I would sketch a montage of all 13 Doctor Who regenerations and then show how to draw a simple face step by step.
Watch Next:
Top 6 Most popular Art Videos: http://bit.ly/2dB5O3U
How to Draw a Face: Step by Step for beginners
Step 1:
Draw an oval shape: We can improve this later. I use a 4B pencil.
Step 2:
Draw a horizontal line in the middle of your oval: A guideline for the eyes.
Step 3:
Draw a vertical line down the middle: So the face is looking straight at us.
Step 4:
Draw two simple eyes: Draw a line for the base of the nose and the middle of the mouth.
Step 5:
Draw the neck: Wider apart than the width of the eyes.
Step 6:
Draw two curves for ears: From the height of the eyes to the base of the nose.
Step 7:
Draw two eyebrows: just use a simple curved line.
Step 8:
Erase the two guidelines: We now have a basic face in proportion.
Step 9:
Draw a large circle in each eye for the iris.
Step 10:
Draw two small curves for the nostrils.
Step 11:
Draw extra lines for the eyelids, draw a small circle in each eye for the pupil.
Step 12:
Shade in the pupils as dark as you can. Shade the iris with a mid-tone and darken the eyelid line.
Try to look at the whole face, even when you are drawing the smaller details of the face.
Step 13:
Shade in the nostrils and darken the middle line of the mouth.
Step 14:
Using the side of your pencil, shade in the left hand side of the face.
Step 15:
Darken and thicken the eyebrows.
Step 16:
Use the side of an eraser to smudge your mid-tone shading.
Step 17:
Time to add a few details to the features of the face.
Step 18:
Draw some lines for the hair: Start with a few lines, showing the direction of the hairstyle.
Step 19:
We can now darken the jawline of the face.
Step 20:
We can add some shading on the left of the neck and to the hair.
You have now hopefully completed a beautiful portrait!
There are many ways to draw and many faces to draw! In this art video I show some of the tricks I have discovered over the years that I use in my own art and my art teaching.
How to Draw a Female Face: http://youtu.be/9znM9joEwU4
Music used in this How to Draw a Face art tutorial:
1: Epic Unease by Kevin MacLeod is licensed under a Creative Commons Attribution licence (https://creativecommons.org/licenses/by/4.0/)
Source: http://incompetech.com/music/royalty-free/index.html?isrc=USUAN1100406
Artist: http://incompetech.com/
2: Transcend by Audionautix is licensed under a Creative Commons Attribution licence (https://creativecommons.org/licenses/by/4.0/)
Artist: http://audionautix.com/
I hope you like it and I hope you share it!
There are over 260 of my How to Draw art videos at: http://www.youtube.com/circlelineartschool
Thank you for watching this art tutorial. I hope you find it useful for your own pencil drawing.
I post a new free How to Draw video every Saturday. If you would like to see more please subscribe here:
https://www.youtube.com/circlelineartschool
Hi, my name is Tom McPherson and I founded Circle Line Art School as an online art education resource for all. My aim is to inspire people to learn to draw and be more creative. I believe drawing is a wonderful way to appreciate the visual world and become more observant and creative.
Circle Line Art School
My web: https://www.circlelineartschool.com
Thank you for watching and have a great day!
Tom McPherson
Circle Line Art School
https://www.circlelineartschool.com


![[ID: Gi0YYwKRqx4] Youtube Automatic](https://okumasaati.net/wp-content/uploads/2020/10/id-gi0yywkrqx4-youtube-automatic-360x203.jpg)
![Private: [ID: d5K-eiMZNbc] Youtube Automatic](https://okumasaati.net/wp-content/uploads/2020/10/private-id-d5k-eimznbc-youtube-a-360x203.jpg)
![[ID: m88Sf5DoHpA] Youtube Automatic](https://okumasaati.net/wp-content/uploads/2022/01/id-m88sf5dohpa-youtube-automatic-360x203.jpg)
![[ID: dgQhvvkSZKs] Youtube Automatic](https://okumasaati.net/wp-content/uploads/2020/10/id-dgqhvvkszks-youtube-automatic-360x203.jpg)
![[ID: rxPBDujiqRg] Youtube Automatic](https://okumasaati.net/wp-content/uploads/2020/09/id-rxpbdujiqrg-youtube-automatic-360x203.jpg)
![[ID: mw8YDkywNzM] Youtube Automatic](https://okumasaati.net/wp-content/uploads/2022/02/id-mw8ydkywnzm-youtube-automatic-360x203.jpg)