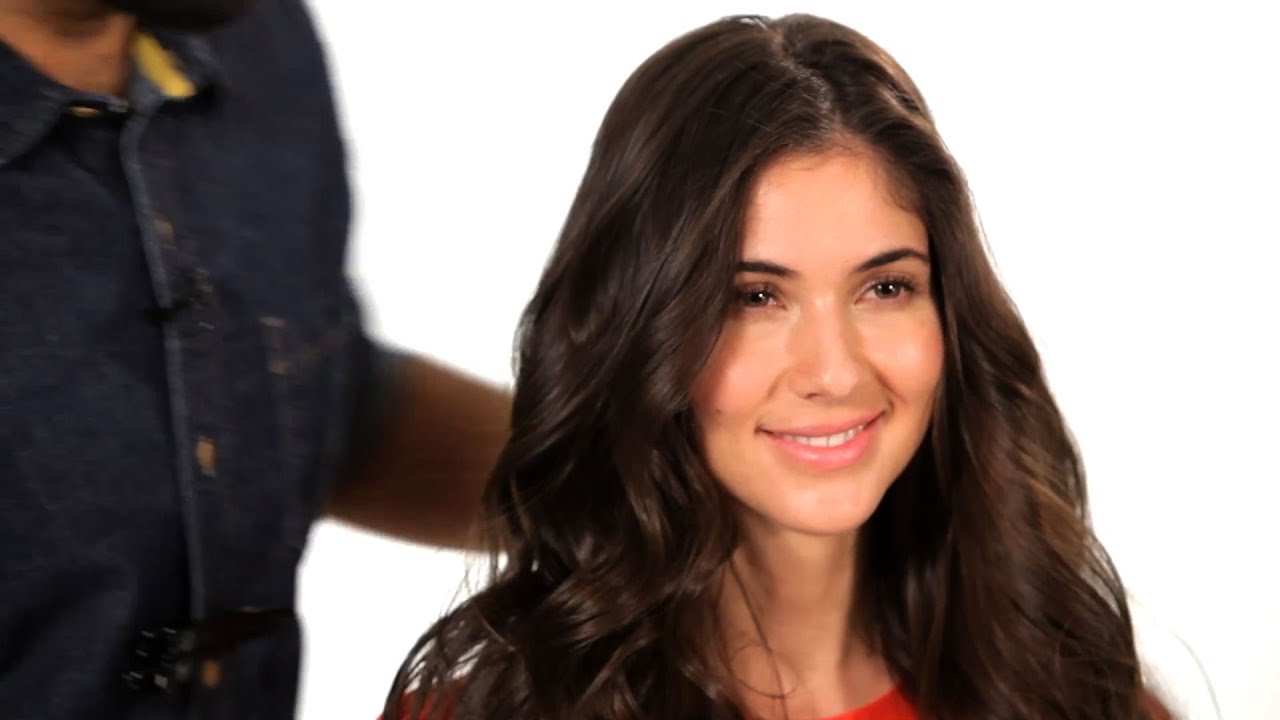
5 Steps to a Beachy Wave | Salon Hair Tutorial
Full Playlist: https://www.youtube.com/playlist?list=PLLALQuK1NDrhmLabb3h3sBKQOw0sWGq6r
–
–
Step up your Hair Game with these Salon Quality products:
Vidal Sassoon Styling Combs: http://amzn.to/1GwCopE
Softhood Bonnet Hair Dryer Attachment: http://amzn.to/1QZSVYP
Remington Salon Collection Ceramic Hair Straightener: http://amzn.to/1jOw200
Salon Straightener V Shape Comb: http://amzn.to/1JTb8Ss
Revlon Tourmaline Ionic Ceramic Dryer: http://amzn.to/1N0oP6N
Watch more Beautiful Easy Hairstyles videos: http://www.howcast.com/videos/516087-5-Steps-to-a-Beachy-Wave-Salon-Hair-Tutorial
Hi everybody. My name is Dhiran Mistry. I work at the John Barrett Salon at Bergdorf Goodman. And I’m here today with Andrea. And I’m going to show Andrea today how to achieve the beachy wave look.
Okay, with this look, you’re going to want to take the hair in sections and today we’re going to use a curling iron, this size, just to get some nice curl in the hair. So the idea is to set the hair with some curl and then brush it out. So what you want to do is to curl the hair all in a similar direction. And then when you brush it out, it will give that beachy wave look.
I’m going to work today from the bottom of the head, working our way upwards. So if you take your hair and just section out the back from underneath your ears, just across from ear to ear, like so. And with the hair that I’m not going to be working on, I’m just going to tie it out of the way, so we can have a nice clean section.
So always remember to completely dry the hair before you use a curling iron. There are many, many circumstances when people use curling irons like this on wet hair and they burn the hair and they damage the hair. And there’s already a very, very famous video on YouTube where a girl burns her hair and it falls off completely. So you don’t want to be that girl.
So taking sections, maybe about an inch and a half wide, and with this, because we’re going to create the beachy look, we want the waves to come back off the face. So as I put the curling iron in towards the root, I just start to spin the curling iron, loosely feeding the hair through it, so as to get a curl all the way through the ends of the hair. Once you have the ends in, just hold it for a second. And as I let it out, I’m just going to unravel it, and there, you have a curl.
Again, the curling iron in towards the root, spin the curing iron around, so as the hair feeds around in the curling iron, it stays flat. And this will give you a nice smooth curl.
So what I would do to achieve this look is to think about the head in two halves. So what we’re going to do is we’re going to do one side all the same direction and the other side all the opposite direction. So as you can see, I’ve worked to the middle of the head, and I’m going to keep working up to the middle and then we’ll work on the other side. Again, taking very thin sections and pinning the hair we’re not using out of the way.
Taking a clean section, not too thick, closing the curling iron in and directing the curl away from the head. Spinning the curling iron, all you need to do is just lift, pressing this, lift it up and it sets the hair loose. Again, always be careful not hold the iron too close to your ear or to your neck, because that’s the first place that you would burn yourself, so we have to be very careful not to hold the iron too close to the head.
Now, depending on the hair length as well, you might want to use a bigger or smaller iron and it will give you a different size wave. We want to create a beachy wave today, so we’re keeping the curls kind of small. So as you let the hair out, just unravel it. It doesn’t need to be difficult to achieve. So placing the irons in at the root and just twisting the curling irons around.
A lot of people wrap the hair around the curling iron. And that will give you a much more dented curl and tends to look very, very fake. So I like to feed the hair into the curling iron and that’s what gives you that smooth look. Also some people like to put the hair in at the bottom, and curl it up that way. The ends of your hair are more porous and they get damaged a lot easier. So if the ends are put in first and they stay in all the way to the top, you’re going to burn the hair. So I would always start at the top where the hair’s healthiest and work your way down.
So now I’m working on the other side. Once we have done one side, they’re all in the same direction, all sitting down, we’re just going to let them sit loosely. I don’t want the curls to be too tight. So I’m not going to pin them or place any way. I’m just going to let them sit there and cool down.
So in this side, I’m going to work in the opposite direction. As you can see what, in opposite directions, this side’s going all the way this way and this side’s going all the way back.
Now we’re at the top. What I’d li


![[ID: fK2IJ43ppd0] Youtube Automatic](https://okumasaati.net/wp-content/uploads/2020/10/id-fk2ij43ppd0-youtube-automatic-360x203.jpg)
![[ID: i1CDY8zVFVo] Youtube Automatic](https://okumasaati.net/wp-content/uploads/2020/10/id-i1cdy8zvfvo-youtube-automatic-360x203.jpg)
![[ID: yZvyJamc84c] Youtube Automatic](https://okumasaati.net/wp-content/uploads/2020/10/id-yzvyjamc84c-youtube-automatic-360x203.jpg)
![[ID: RZrfxiVM8GU] Youtube Automatic](https://okumasaati.net/wp-content/uploads/2020/10/id-rzrfxivm8gu-youtube-automatic-360x203.jpg)
![[ID: WcqnAmthu0g] Youtube Automatic](https://okumasaati.net/wp-content/uploads/2020/10/id-wcqnamthu0g-youtube-automatic-360x203.jpg)
![[ID: 4YOKVI9aSjE] Youtube Automatic](https://okumasaati.net/wp-content/uploads/2020/10/id-4yokvi9asje-youtube-automatic-360x203.jpg)